
Creamy Baked Sweet Potatoes with Chipotle
A perfect mix of creamy, smoky, and slightly spicy flavors — this dish brings comfort and bold taste together in every bite.
Ingredients
• 6 large sweet potatoes (washed, peeled, and sliced)
• 1 tablespoon butter
• ½ onion, chopped
• 6 garlic cloves, minced
• 2 cups of heavy whipping cream
• 1–2 Chipotle peppers in adobo sauce (to taste)
• 1 teaspoon chicken bouillon
• Salt and pepper to taste
Instructions
1. Prepare the sweet potatoes: Wash, peel, and cut them into medium slices. Place them in a baking dish.
2. Make the chipotle cream: In a saucepan, melt the butter over medium heat. Add the onion and garlic, and sauté until they become soft and golden.
3. Add flavor: Pour in the heavy cream, chipotles, and chicken bouillon. Season with salt and pepper. Stir gently until the sauce begins to simmer.
4. Combine and bake: Pour the creamy chipotle sauce over the sweet potatoes, making sure they’re all covered.
5. Bake: Place in the oven at 400°F (200°C) for about 25–30 minutes, or until the potatoes are tender and the top is slightly golden.
Serving Tip: Serve warm with grilled chicken, fish, or as a flavorful vegetarian side dish
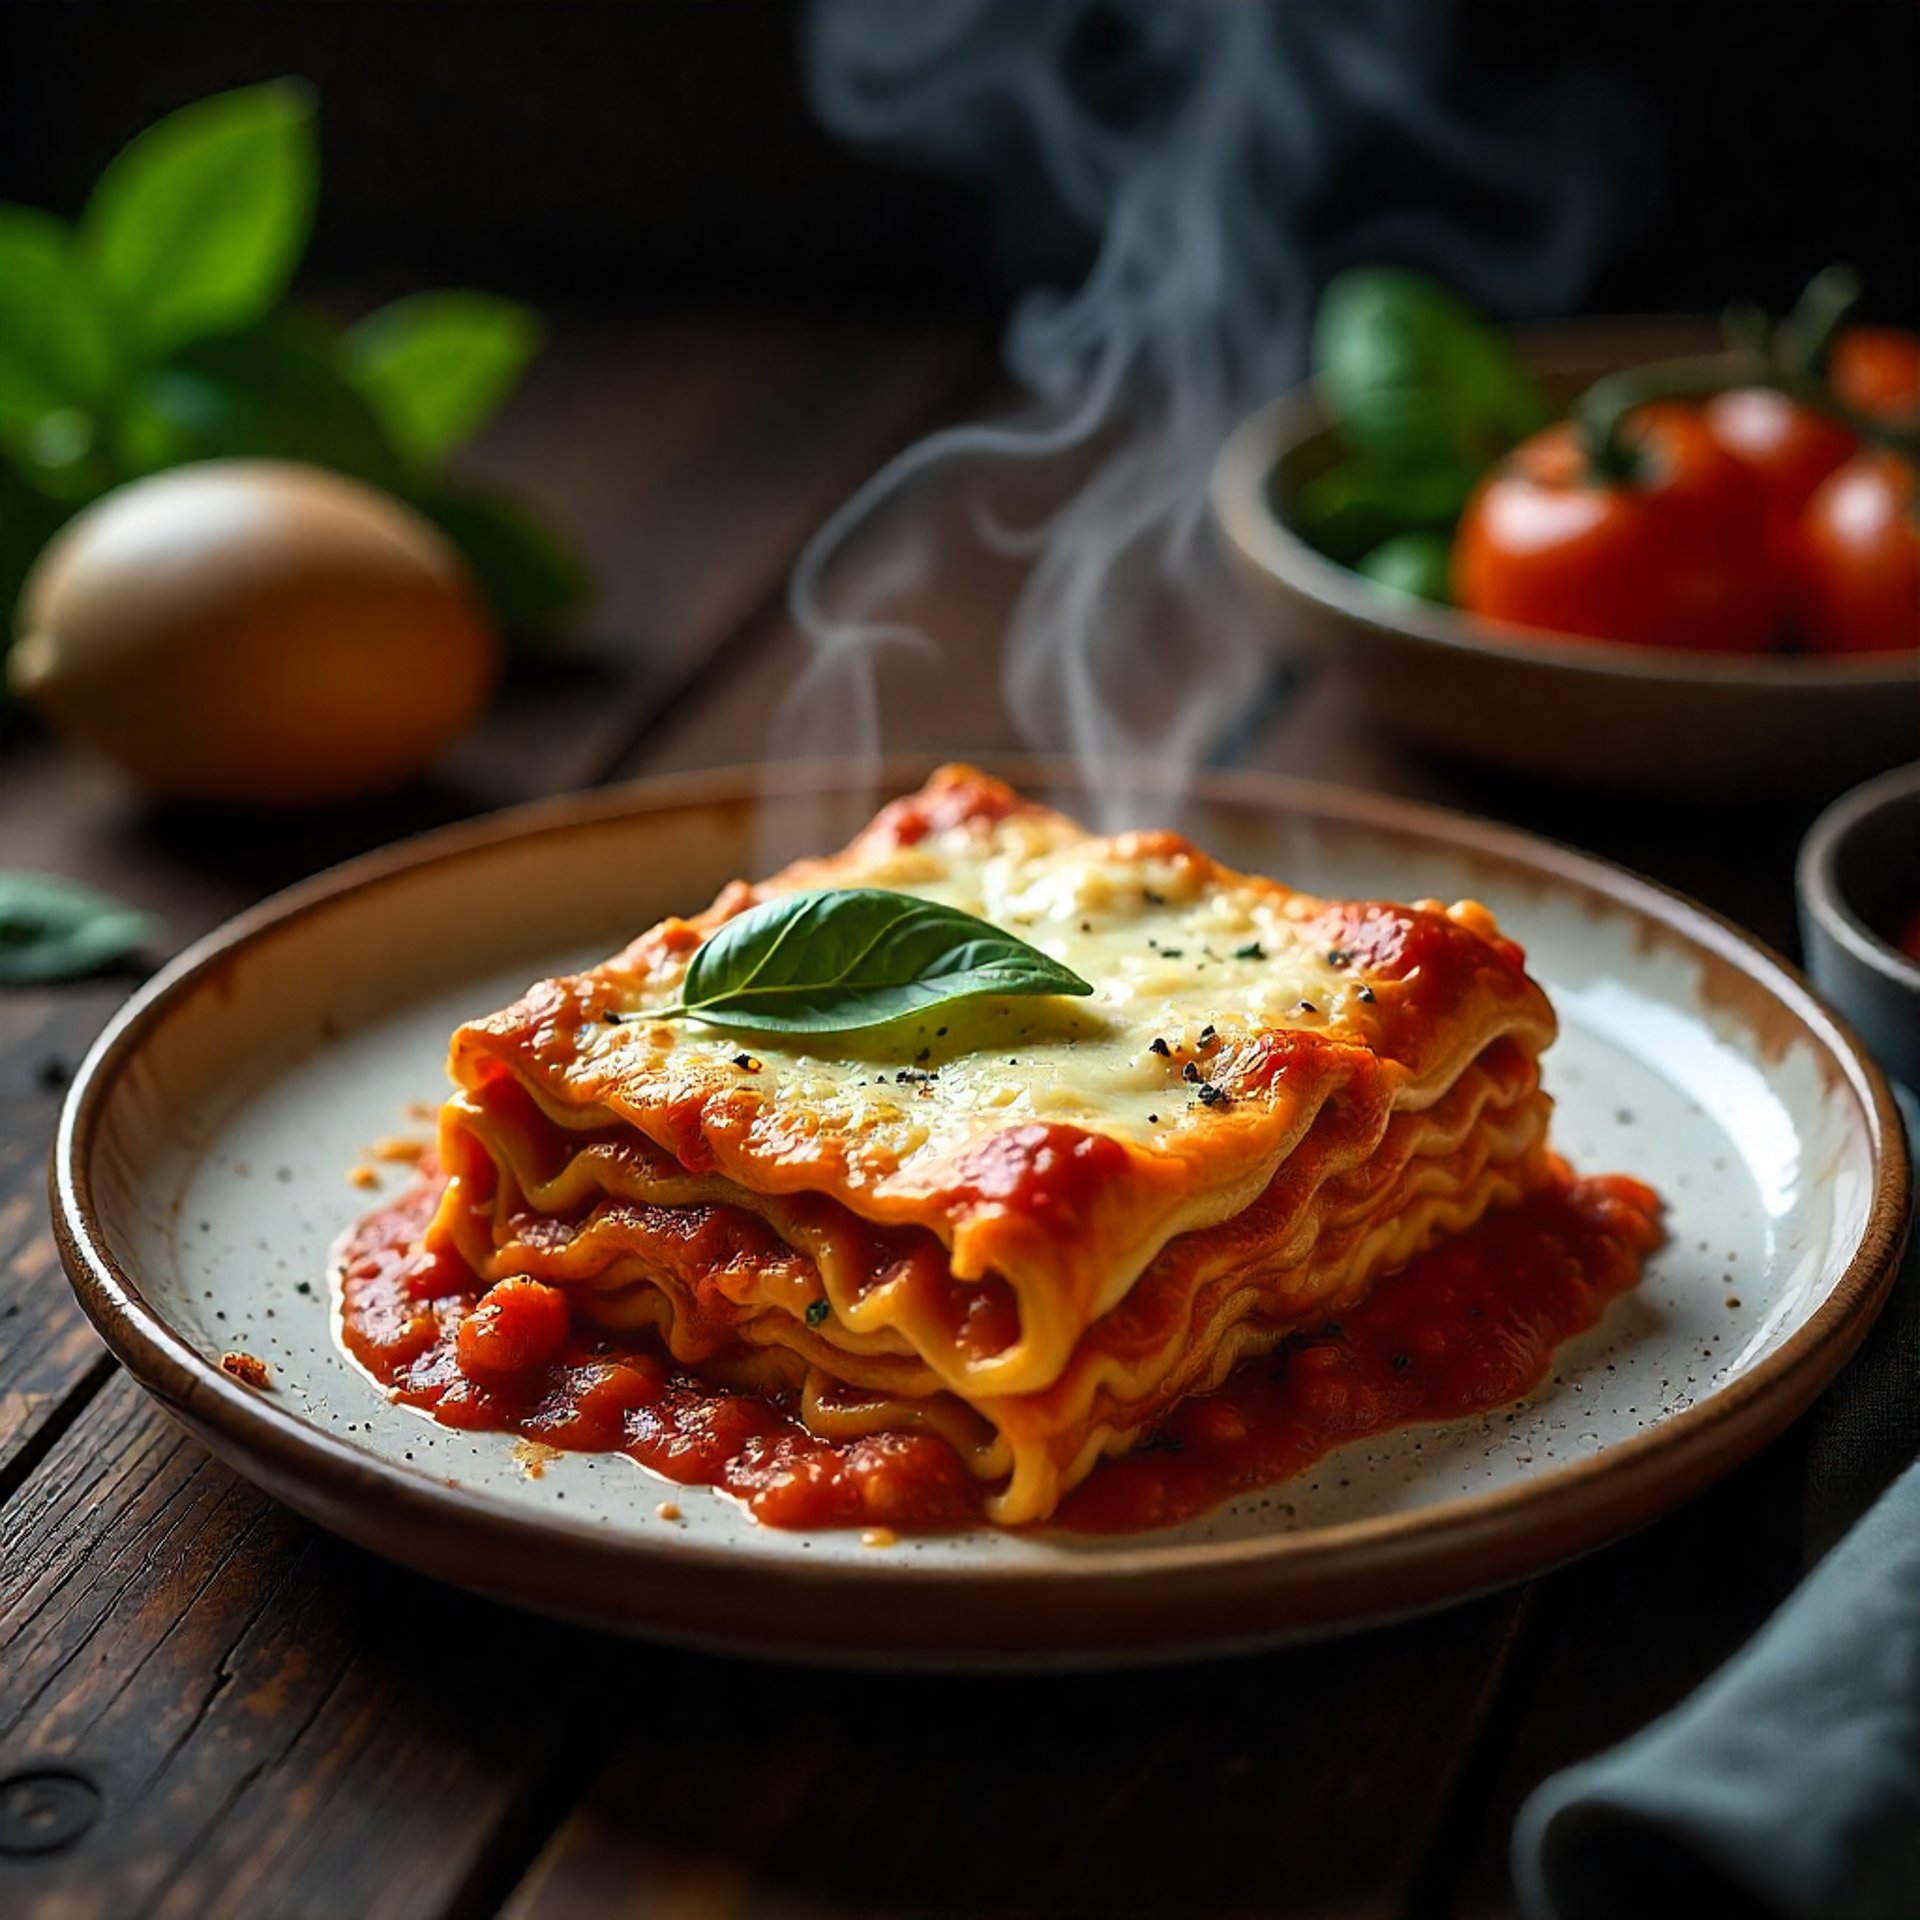
Classic Homemade Lasagna
Layers of rich meat sauce, creamy cheese, and tender pasta come together in this comforting Italian favorite. Perfect for family dinners or special gatherings!
Ingredients for the meat sauce
1 lb (450 g) ground beef
½ lb (225 g) Italian sausage (optional)
1 onion, finely chopped
10 garlic cloves, minced
1 can (28 oz / 800 g) crushed tomatoes
1 can (6 oz / 170 g) tomato paste
1 tbsp of chicken bullion
2 teaspoons sugar
2 teaspoons dried Italian herbs (or a mix of basil, oregano, and thyme)
Salt and pepper to taste
For the cheese layer
15 oz (425 g) ricotta cheese
1 egg
½ cup grated Parmesan cheese
2 tablespoons chopped parsley or basil
Garlic and onion powder
Salt and pepper to taste
Other ingredients
9 lasagna noodles (or enough to make 3 layers)
2 cups shredded mozzarella cheese
Instructions
Prepare the meat sauce:
In a large pan, cook the ground beef, sausage, onion, and garlic over medium heat until browned. Drain excess fat. Add crushed tomatoes, tomato paste, sugar, herbs, salt, and pepper. Stir well and let simmer for 20–25 minutes to thicken.Mix the cheese filling:
In a bowl, combine ricotta, egg, Parmesan, parsley, salt, and pepper. Mix until smooth and creamy.Cook the noodles:
Boil lasagna noodles in salted water until just tender (al dente). Drain and set aside.Assemble the lasagna:
Spread a thin layer of meat sauce on the bottom of a baking dish.
Add a layer of noodles.
Spread a layer of ricotta mixture, then spoon more meat sauce, and sprinkle with mozzarella.
Repeat the layers (noodles → ricotta → sauce → mozzarella) until all ingredients are used. Finish with mozzarella on top.
Bake:
Cover the dish with foil and bake at 375°F (190°C) for 25 minutes. Remove the foil and bake for another 10–15 minutes until the cheese is melted and golden.Rest and serve:
Let the lasagna rest for 10 minutes before cutting, so the layers set perfectly.
Serving Tip
Pair this lasagna with a simple green salad, garlic bread, and a glass of red wine — a timeless Italian dinner everyone will love it!

Homemade Chicken Soup with Fresh Vegetables
A nourishing, cozy soup made with tender chicken, fresh vegetables, and rich homemade flavor — perfect for any season or when you need a comforting meal.
Ingredients
1 lb (450 g) boneless, skinless chicken breast or thighs
8 cups (2 liters) water or low-sodium chicken broth
1 medium onion, chopped
6 garlic cloves, minced
3 carrots, sliced
2 celery stalks, sliced
1 medium potato, peeled and diced
1 zucchini, diced
1 cup corn kernels (fresh or frozen)
1 cup green beans, chopped
1 teaspoon salt (adjust to taste)
½ teaspoon black pepper
½ teaspoon dried thyme or oregano
3 bay leaves
Fresh cilantro, chopped (for garnish)
Optional: a squeeze of fresh lemon juice before serving
Instructions
Prepare the chicken:
In a large pot with a little bit of water, add the chicken pieces with salt bring to a boil.Sauté the vegetables:
In another pot, add the onion and garlic. Cook for 2–3 minutes until fragrant. Add carrots, celery, and potatoes. Stir for another 2–3 minutes.Simmer the soup:
Pour in the water or chicken broth. Return the chicken to the pot. Add salt, pepper, and herbs. Bring to a boil, then reduce the heat and simmer for 25–30 minutes, until the chicken is tender and the vegetables are soft.Add remaining vegetables:
Add zucchini, corn, and green beans. Cook for another 10 minutes until all vegetables are tender.Serve warm:
Ladle the soup into bowls, sprinkle with fresh cilantro, and enjoy it with a slice of crusty bread, tortillas, or crackers.
Tip from Eva’s Kitchen
For extra depth of flavor, add a splash of lemon juice, a slice of avocado, or a pinch of chili flakes just before serving — it brings the soup to life
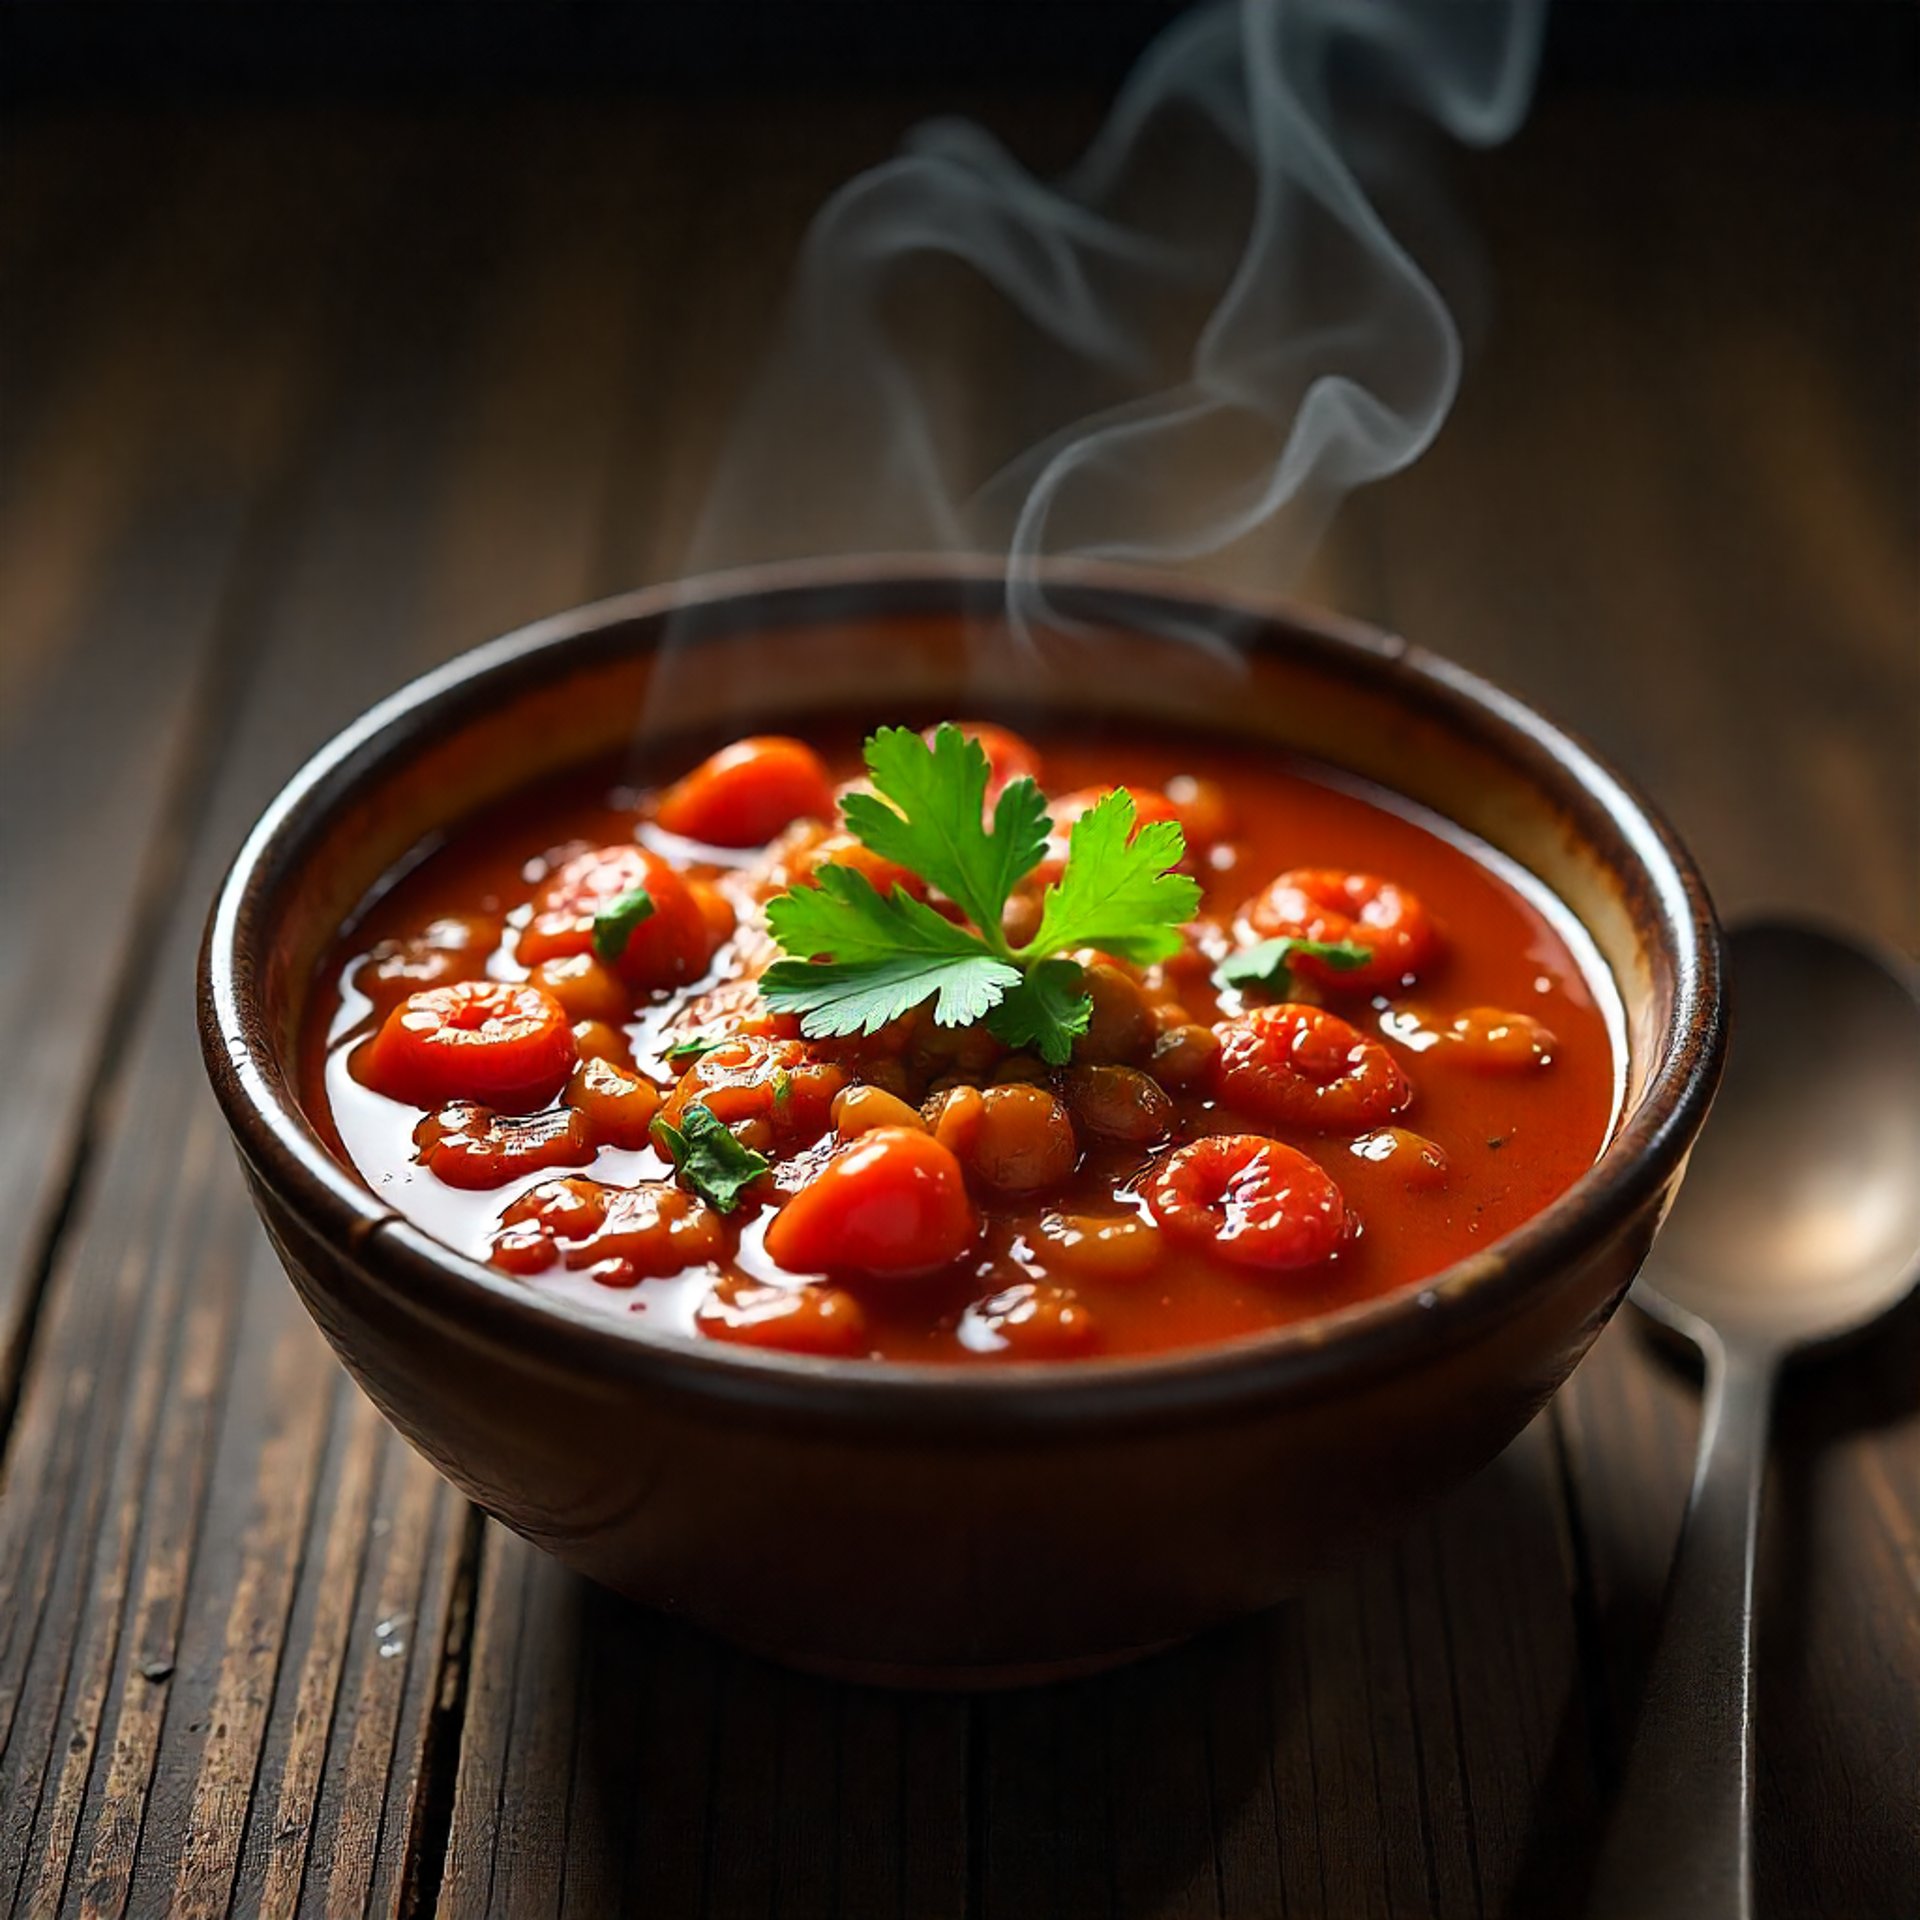
Homemade Chili Beans
A bowl full of comfort! This homemade chili is packed with tender beans, seasoned ground beef, fresh vegetables, and just the right amount of spice — perfect for cozy nights or family dinners. Ingredients
Main ingredients
1 lb (450 g) ground beef or turkey
1 tablespoon olive oil
1 onion, chopped
2 garlic cloves, minced
1 green bell pepper, chopped
1 red bell pepper, chopped
1 can (15 oz / 425 g) red kidney beans, drained and rinsed
1 can (15 oz / 425 g) pinto or black beans, drained and rinsed
1 can (28 oz / 800 g) diced tomatoes
2 tablespoons tomato paste
1 cup beef broth or water
2 tbsp of chicken bullion
Seasonings
2 teaspoons chili powder
1 teaspoon cumin
½ teaspoon smoked paprika
½ teaspoon oregano
Salt and pepper to taste
Optional: a pinch of cayenne or red pepper flakes for extra heat
Instructions
Sauté the base:
In a large pot, heat olive oil over medium heat. Add onion, garlic, and peppers. Cook for 3–4 minutes until softened.Brown the meat:
Add the ground beef and cook until browned. Drain any excess fat.Add tomatoes and seasoning:
Stir in diced tomatoes, tomato paste, beans, and broth. Add chili powder, cumin, paprika, oregano, salt, and pepper. Mix well.Simmer:
Bring to a boil, then lower the heat. Cover and simmer gently for 30–40 minutes, stirring occasionally to let the flavors blend beautifully.Taste and adjust:
Taste the chili and adjust the seasoning if needed. Add more chili powder for spice or a splash of broth if it’s too thick.
Serving Suggestions
Serve hot and top with your favorite toppings:
Shredded cheddar cheese
A spoonful of sour cream
Fresh cilantro or green onions
A side of warm cornbread or tortilla chips
Tip from Eva’s Kitchen
For an extra rich flavor, let your chili sit for a few hours or overnight — it tastes even better the next day!

Classic Homemade Meatloaf A juicy, flavorful meatloaf baked to perfection — tender on the inside with a sweet and tangy glaze on top. The ultimate comfort food that brings everyone to the table!
Ingredients for the meatloaf
1 ½ lbs (680 g) ground beef (or a mix of beef and pork)
1 onion, finely chopped
6 garlic cloves, minced
¾ cup breadcrumbs
½ cup milk
2 eggs, lightly beaten
2 tablespoons Worcestershire sauce
2 tablespoons ketchup
1 teaspoon salt for taste
½ teaspoon black pepper
½ teaspoon paprika
1 teaspoon dried parsley or Italian seasoning
For the glaze
⅓ cup ketchup
2 tablespoons brown sugar
1 teaspoon mustard (yellow or Dijon)
Instructions
Preheat oven:
Preheat your oven to 375°F (190°C). Lightly grease a loaf pan or line it with parchment paper.Mix the ingredients:
In a large bowl, combine ground beef, onion, garlic, breadcrumbs, milk, eggs, Worcestershire sauce, ketchup, salt, pepper, paprika, and parsley. Mix gently with your hands or a spoon until well combined — but don’t overmix, to keep it tender.Shape the loaf:
Place the mixture into the loaf pan or shape it into a loaf on a baking sheet.Prepare the glaze:
In a small bowl, mix ketchup, brown sugar, and mustard. Spread half of it evenly over the top of the meatloaf.Bake:
Bake for 45 minutes, then spread the remaining glaze on top. Continue baking for another 15–20 minutes, or until the internal temperature reaches 160°F (70°C).Rest and serve:
Let the meatloaf rest for 10 minutes before slicing. This helps keep it juicy.
Serving Suggestions
Serve with creamy mashed potatoes, roasted vegetables, or a simple green salad for a complete and satisfying meal.
Tip from Eva’s Kitchen
For extra flavor, mix a little barbecue sauce into your glaze or sprinkle shredded cheese on top before baking

Crispy Homemade Fried Turkey
Golden, juicy, and full of flavor — this homemade fried turkey is the star of any celebration! Perfectly seasoned inside and out, it’s crispy on the outside and tender on the inside.
Ingredients for the turkey:
1 whole turkey (10–14 lbs), thawed completely and patted dry
3–4 gallons of peanut oil (or vegetable oil) for frying
1 tablespoon salt
1 tablespoon black pepper
1 tablespoon garlic powder
1 tablespoon onion powder
1 teaspoon paprika
1 teaspoon cayenne pepper (optional for spice)
For the injection marinade (optional but highly recommended)
1 cup melted butter
1 cup chicken broth
1 cup of cooking wine
1 teaspoon Worcestershire sauce
1 fresh lemon juice
1 fresh orange juice
1 teaspoon Cajun seasoning or garlic powder
⚠️ Safety First
Frying a turkey can be dangerous if not done carefully. Always fry outdoors on a flat, open surface away from buildings, and make sure the turkey is completely thawed and dry to avoid oil splatters. Never fry indoors!
Instructions
Prepare the turkey:
Remove giblets and neck. Pat the turkey completely dry with paper towels — inside and out. Moisture and oil do not mix!Season or inject:
Rub the turkey all over with salt, pepper, garlic powder, onion powder, paprika, and cayenne.
If you’re using the injection marinade, mix all ingredients and inject it evenly into the breast, thighs, and legs for deep flavor.Heat the oil:
In a large turkey fryer pot, pour in the oil (do not exceed the fill line). Heat to 350°F (175°C). Use a cooking thermometer to check the temperature.Lower the turkey carefully:
Turn off the burner temporarily and slowly lower the turkey into the hot oil using a hook or basket. Once submerged, turn the burner back on.Fry the turkey:
Fry for 3–4 minutes per pound (about 35–45 minutes for a 12 lb turkey) until golden brown and the internal temperature reaches 165°F (74°C) in the thickest part of the breast.Drain and rest:
Carefully lift the turkey from the oil and let it drain. Place on paper towels or a rack for at least 20 minutes before carving.
Serving Suggestions
Serve your crispy fried turkey with mashed potatoes, roasted vegetables, or cornbread stuffing. For an extra burst of flavor, drizzle with homemade gravy or a touch of honey butter!
Tip from Eva’s Kitchen
To test the oil level before frying, place your turkey in the pot and fill with water until covered. Remove the turkey and mark the water line — that’s your safe oil level for frying day.
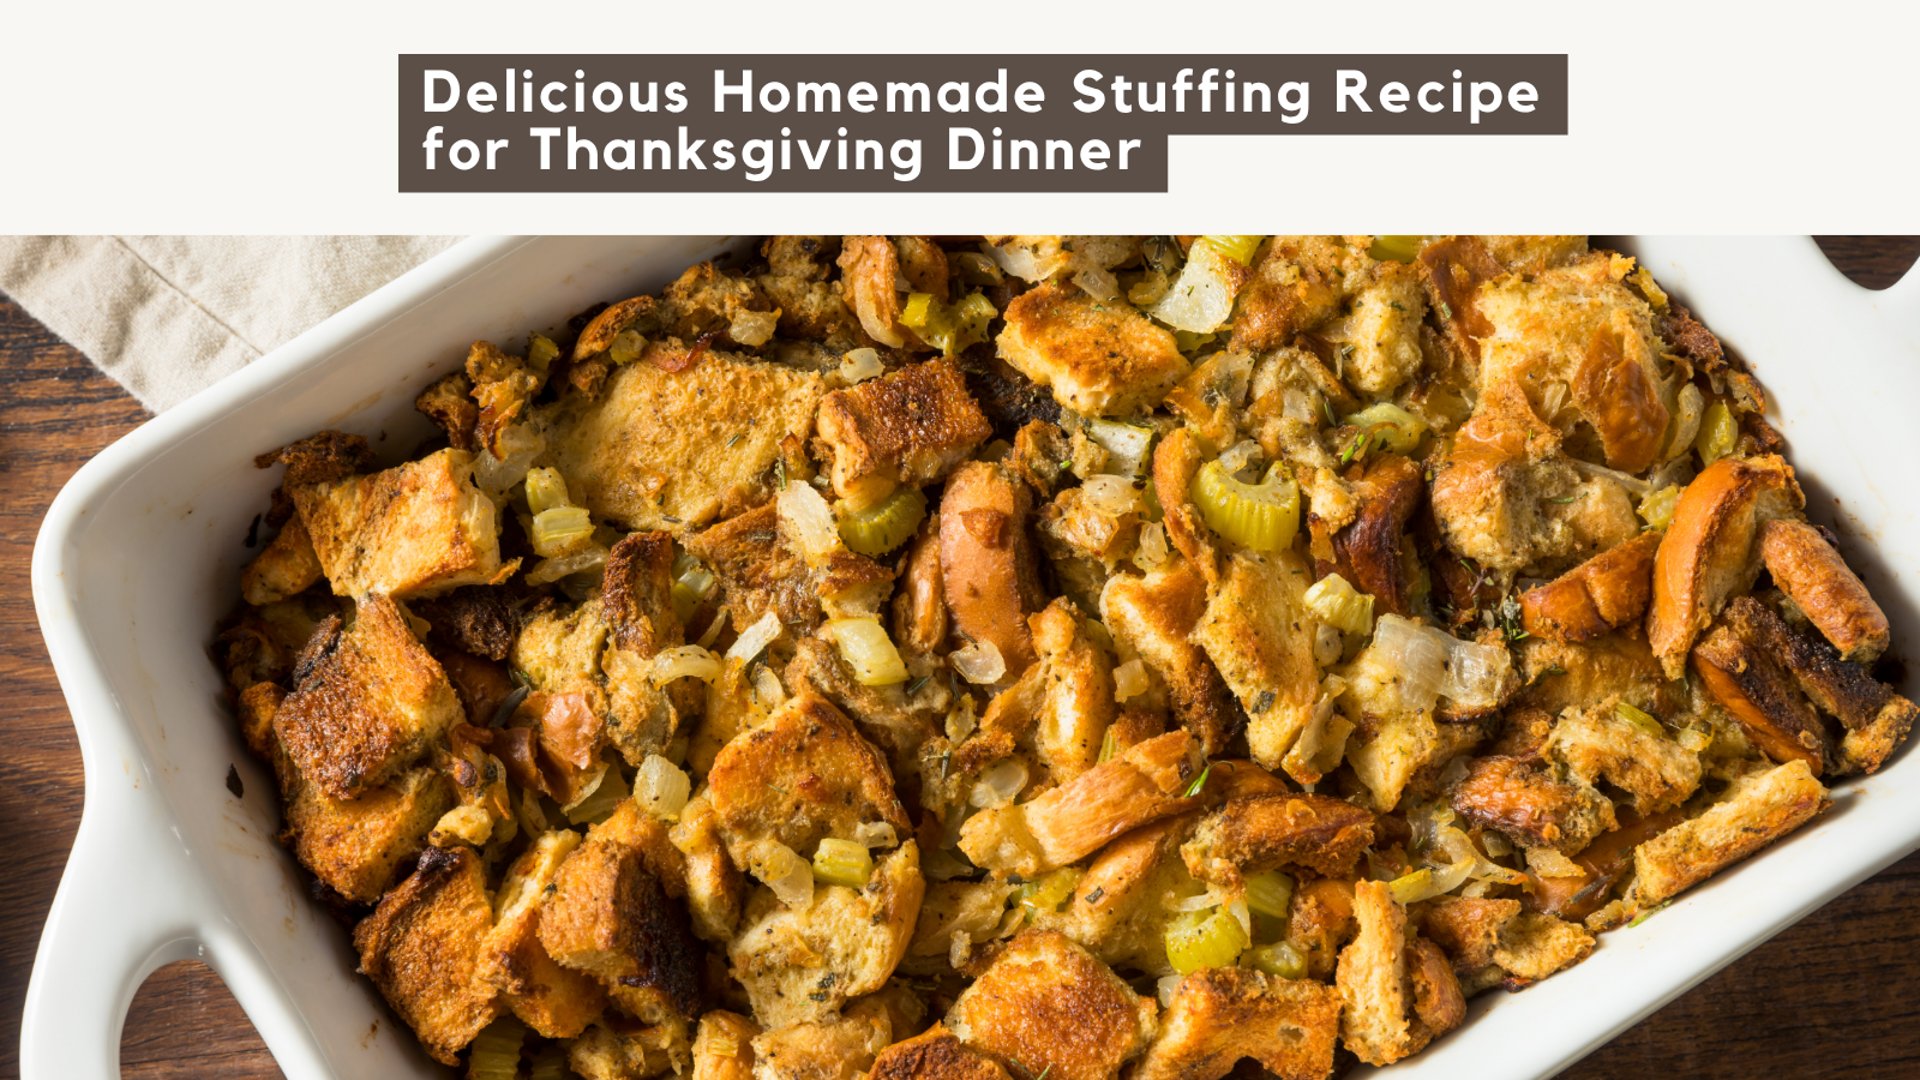
Homemade Turkey Stuffing
A classic, savory stuffing made from fresh bread, herbs, and vegetables — full of comforting flavor and the perfect companion for your roasted or fried turkey.
Ingredients
10 cups of bread cubes (day-old or lightly toasted; white, wheat, or a mix)
1 stick (½ cup) unsalted butter
1 large onion, finely chopped
3 celery stalks, diced
3 garlic cloves, minced
1 teaspoon salt
½ teaspoon black pepper
1 teaspoon dried sage
1 teaspoon dried thyme
1 teaspoon rosemary (crushed)
½ cup fresh parsley, chopped
2 ½–3 cups low-sodium chicken or turkey broth (adjust for texture)
2 eggs, lightly beaten (for binding, optional)
Instructions
Prepare the bread cubes:
Cut your bread into small cubes and let it dry overnight, or toast them in the oven at 300°F (150°C) for about 10–15 minutes until lightly crisp. Place them in a large mixing bowl.Cook the vegetables:
In a skillet, melt the butter over medium heat. Add onion, celery, and garlic. Sauté until soft and fragrant, about 5–7 minutes.Add the seasonings:
Stir in salt, pepper, sage, thyme, rosemary, and parsley. Mix well so the herbs release their aroma.Combine everything:
Pour the vegetable mixture over the bread cubes. Slowly add broth a little at a time, mixing gently until the bread is moistened but not soggy. (You may not need all the broth.)Add eggs (optional):
Stir in the beaten eggs if you prefer a firmer, more cohesive stuffing.Bake the stuffing:
Transfer the mixture to a greased baking dish.
Cover with foil and bake at 350°F (175°C) for 30 minutes.
Uncover and bake another 10–15 minutes to get a golden, crispy top.
Serving Suggestions
Serve this delicious stuffing alongside roasted or fried turkey, mashed potatoes, and cranberry sauce for the ultimate holiday feast!
Tip from Eva’s Kitchen
For extra flavor, sauté diced apples, mushrooms, or crumbled sausage with the vegetables — it adds a beautiful twist to the traditional stuffing!

Puerto Rican Homemade Potato Salad (Ensalada de Papa)
A creamy, colorful, and irresistible side dish made the Puerto Rican way — with tender potatoes and egg (optional). It's a family meal!
Ingredients
2 lbs (900 g) potatoes, peeled and cut into cubes
5 large eggs
small red onion, finely chopped
1 cup mayonnaise
1 cup of sour cream
2 tablespoons yellow mustard
¼ cup sweet pickle relish (or chopped pickles)
1 teaspoon salt (as desired)
½ teaspoon black pepper
Power garlic (as desired)
Paprika (for garnish)
Instructions
Cook the potatoes:
In a large pot, boil the potatoes in salted water until tender but not mushy (about 10–12 minutes). Drain and let them cool slightly.Boil the eggs:
In a small pot, boil the eggs for 10 minutes. Cool, peel, and chop them. Set a few slices aside for garnish if desired.Mix the dressing:
In a large bowl, combine mayonnaise, mustard, vinegar (or lemon juice), salt, and pepper. Stir well until creamy. Add potatoes and eggs, choppedChill and serve:
Cover and refrigerate for at least 1 hour before serving. The flavors blend beautifully as it chills.Serving Suggestions
Serve your Puerto Rican potato salad cold as a side to roasted chicken, turkey, fried pork chops, or BBQ ribs — and don’t forget to sprinkle paprika, slice eggs, and fresh parsley on top for that beautiful finishing touch!
Tip from Eva’s Kitchen
For an authentic Puerto Rican twist, add a little green peas or pimientos for color and flavor — just like abuela used to make!

Homemade Green Bean Casserole
A creamy, savory classic made from tender green beans, rich mushroom sauce, and crispy onions on top — the perfect side dish for any family gathering or holiday table!
Ingredients
1 lb (450 g) fresh green beans, trimmed and cut in half (or 2 cans drained)
1 can (10.5 oz / 295 g) cream of mushroom soup
½ cup heavy whipping cream
1 cup shredded cheddar cheese (optional for extra creaminess)
1 teaspoon soy sauce (adds flavor depth)
½ teaspoon garlic powder
¼ teaspoon black pepper
1 cup crispy fried onions (divided)
1 tablespoon butter (optional for richer flavor)
Instructions
Preheat the oven:
Set your oven to 350°F (175°C). Lightly grease a baking dish (about 9x13 inches).Cook the green beans:
Boil or steam fresh green beans for about 5–6 minutes until tender-crisp, then drain. (If using canned, just drain well.)Make the creamy mixture:
In a large bowl, combine the cream of mushroom soup, heavy whipping cream, soy sauce, garlic powder, black pepper, and half of the crispy onions. Add the butter and cheese (if using). Mix until creamy.Combine and bake:
Add the green beans to the creamy mixture and stir gently to coat. Pour everything into the prepared baking dish.Top and bake again:
Bake uncovered for 25 minutes. Remove from the oven, sprinkle the remaining crispy onions evenly on top, and bake for another 5–10 minutes, until golden and bubbly.
Serving Suggestions:
Serve warm alongside turkey, ham, mashed potatoes, or stuffing — this casserole adds the perfect creamy crunch to any meal!
Tip from Eva’s Kitchen
For a homemade touch, sauté fresh mushrooms and onions in butter before mixing them in — it gives your casserole a rich, from-scratch flavor your guests will love!
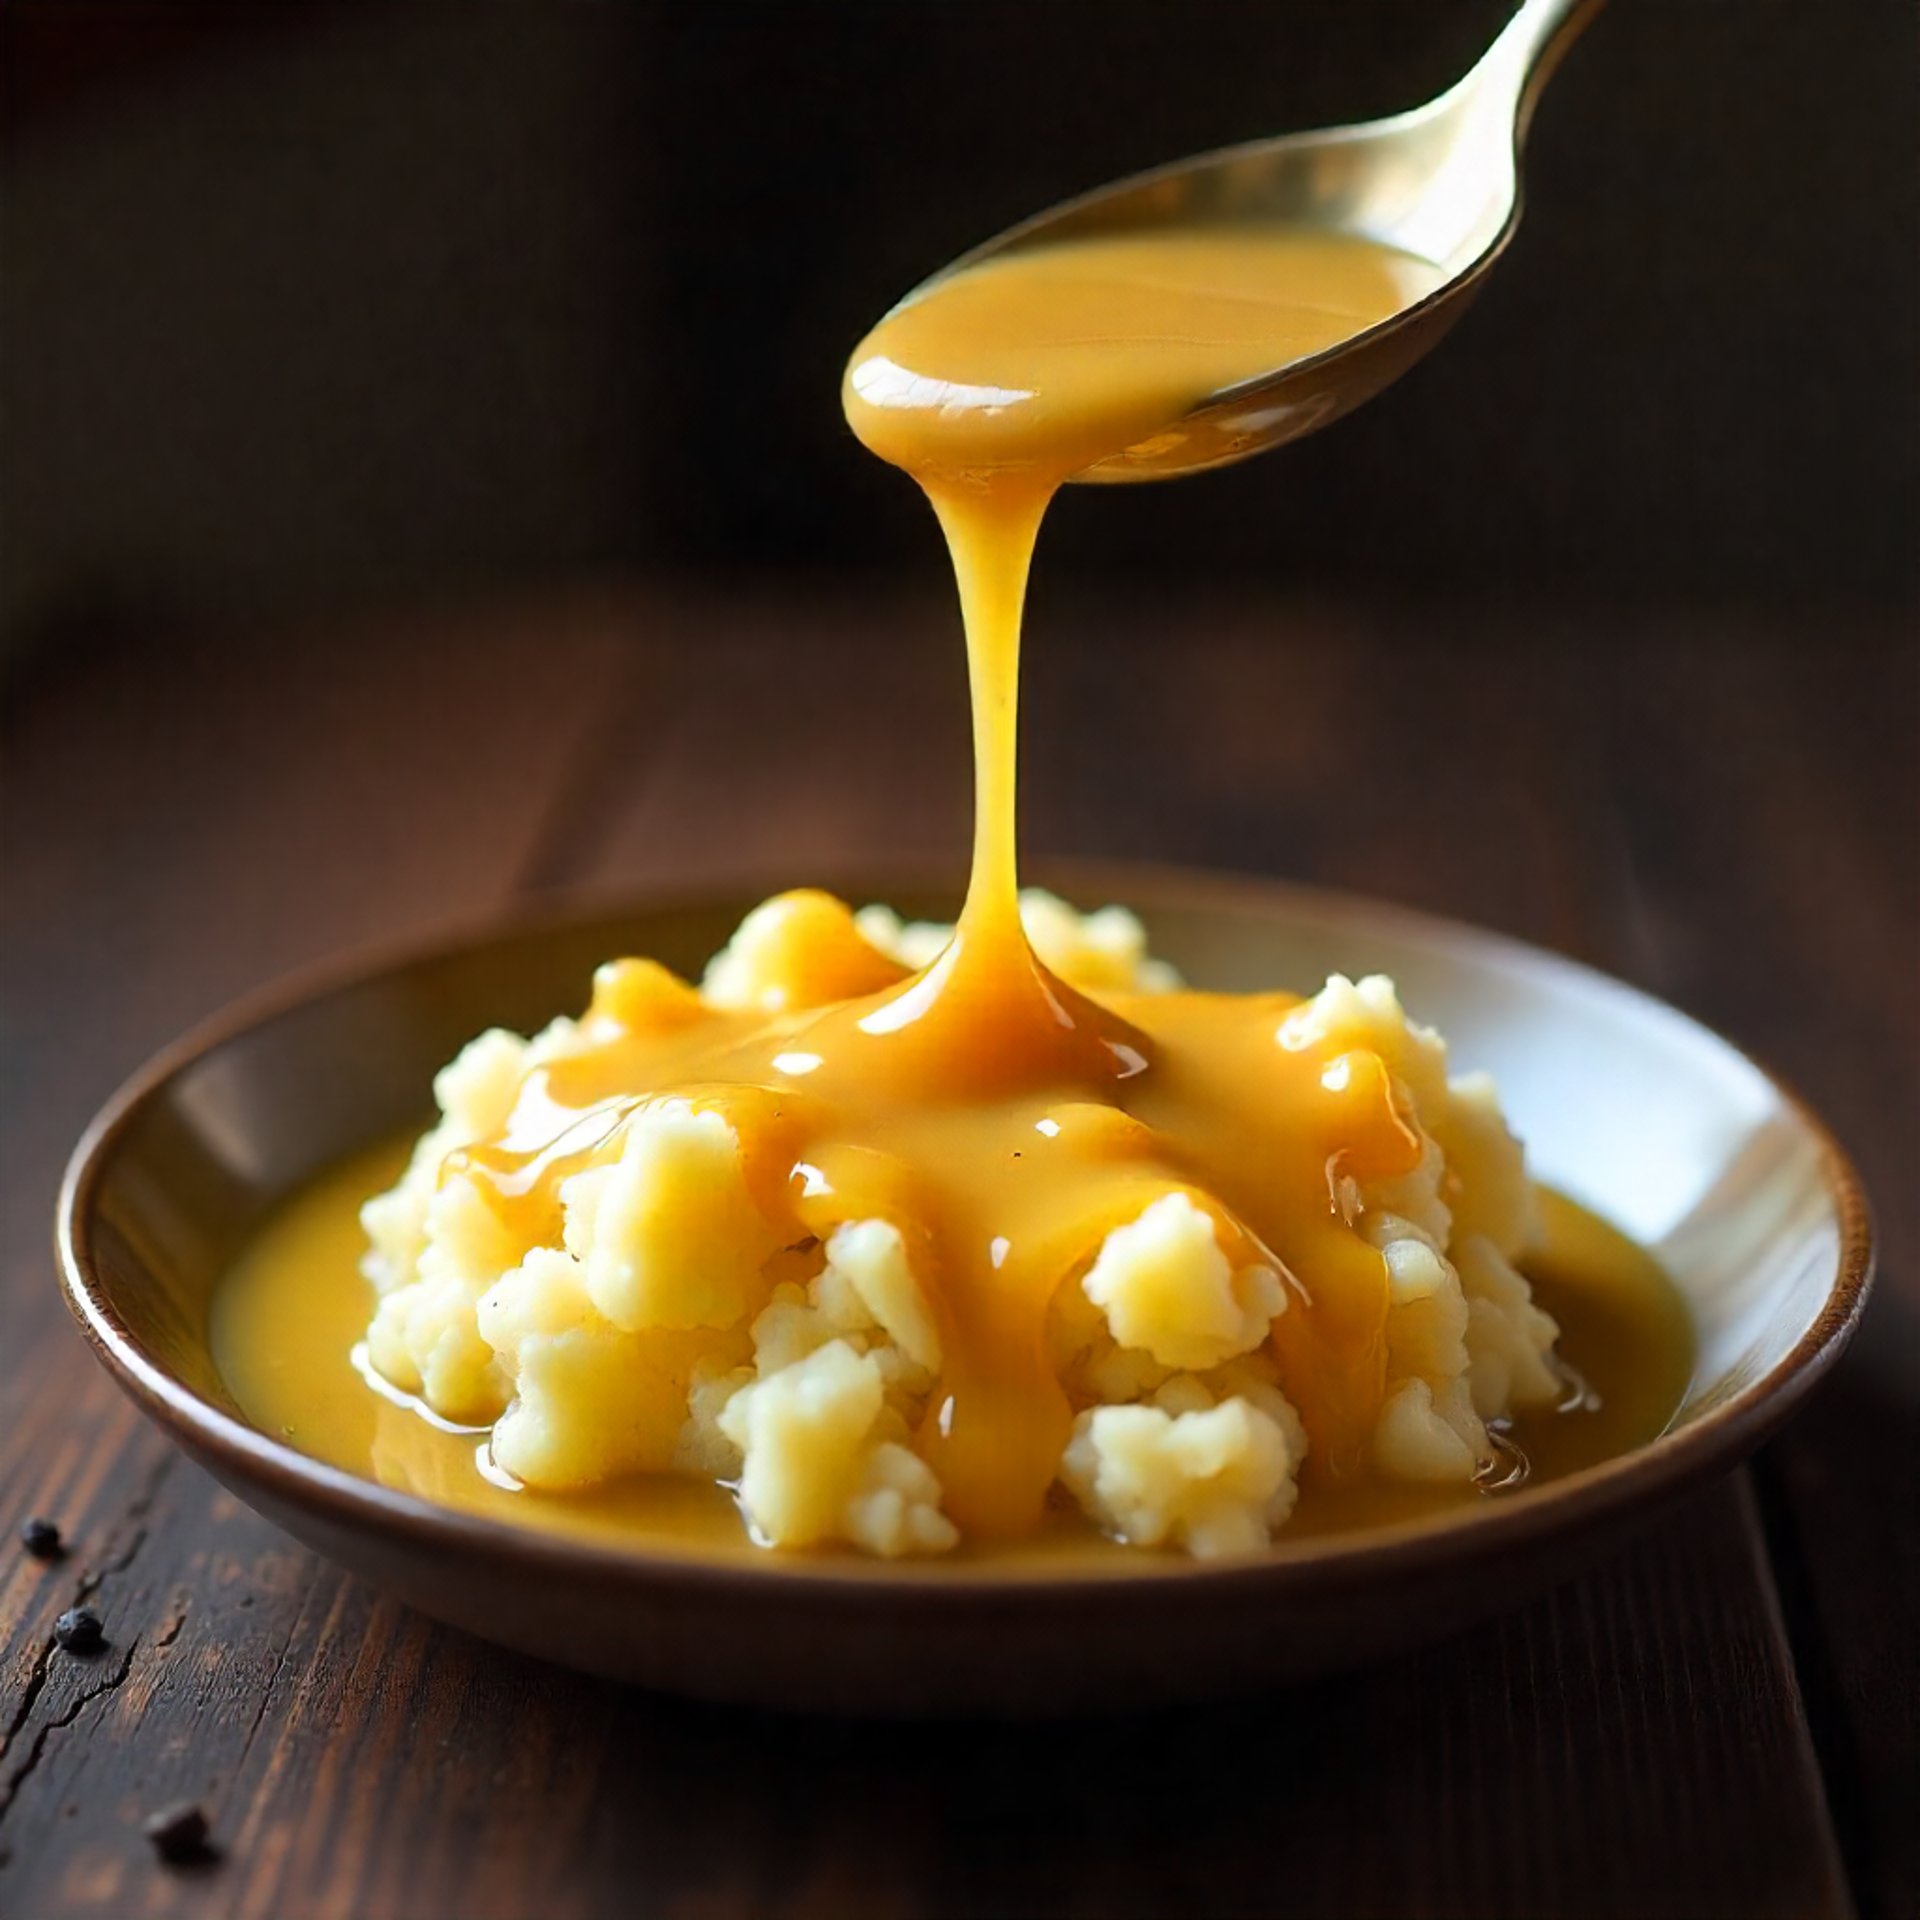
Homemade Turkey Gravy
Silky, savory, and full of flavor — this homemade gravy is the secret that turns any turkey dinner into something truly special. Made from real drippings or broth, it’s the perfect finishing touch for your holiday feast!
Ingredients
¼ cup butter (or turkey drippings from your roasted or fried turkey)
¼ cup all-purpose flour
2 cups turkey or chicken broth (warm)
Salt and pepper to taste
Optional:
A splash of cream for extra richness
A pinch of garlic powder or poultry seasoning for added flavor
Instructions
Make the roux:
In a medium saucepan, melt the butter (or use the strained turkey drippings) over medium heat.
Add the flour and whisk constantly for 2–3 minutes until it turns golden brown and smells nutty — this helps remove the raw flour taste.Add the broth:
Slowly pour in the warm turkey or chicken broth, whisking continuously to avoid lumps.Simmer and thicken:
Bring the mixture to a gentle boil, then reduce the heat and simmer for 5–7 minutes, stirring often, until the gravy thickens to your desired consistency.Season and finish:
Add salt and pepper to taste. For a creamier texture, stir in a small splash of cream or butter right before serving.
Serving Suggestions
Serve warm over roasted or fried turkey, mashed potatoes, stuffing, or biscuits — it adds that homemade touch to every bite!
Tip from Eva’s Kitchen
If you use turkey drippings, let them cool slightly first, then skim off excess fat before adding them to your gravy — you’ll get pure, flavorful perfection every time!
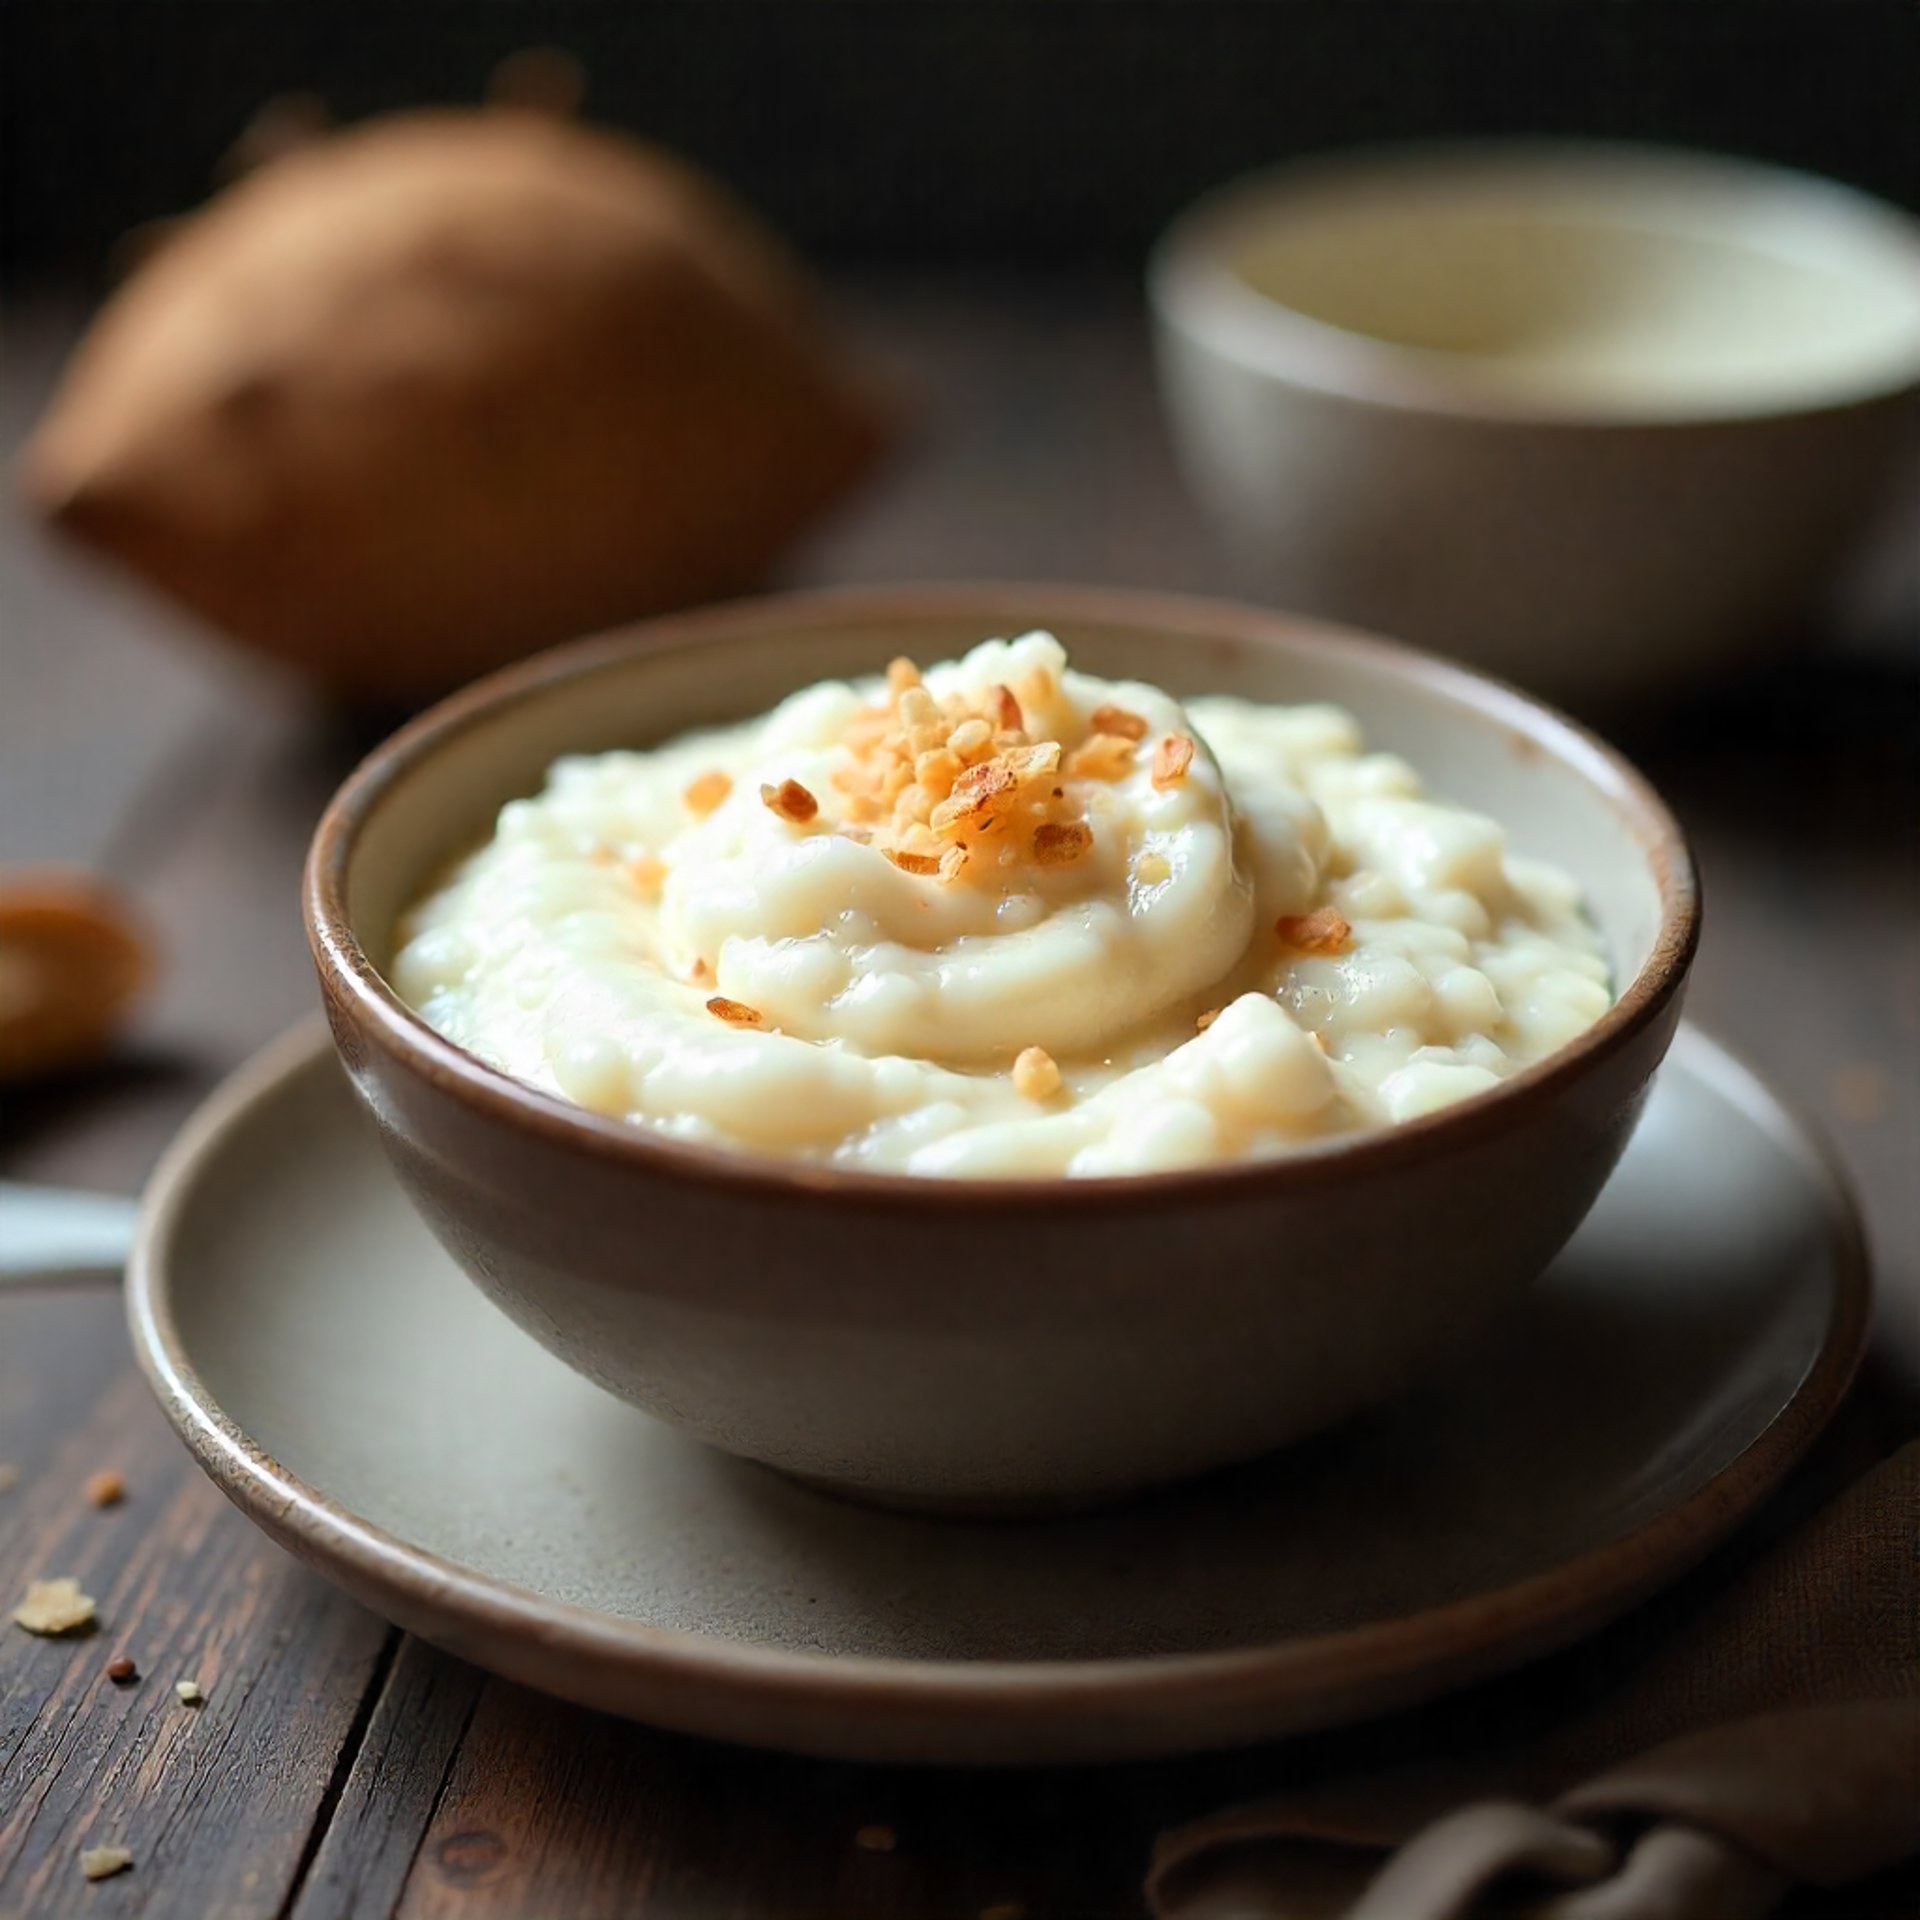
Homemade Coconut Rice Pudding
Creamy, sweet, and filled with tropical flavor — this homemade rice pudding with coconut is the perfect dessert to enjoy warm or chilled. Inspired by island traditions and made with love!
Ingredients
1 cup white rice (short or medium grain works best)
2 cups water
2 cups coconut milk (unsweetened or regular)
1 can of condensed milk
1 can of evaporated milk
¾ cup sugar
½ teaspoon salt
1 teaspoon vanilla extract
½ teaspoon ground cinnamon (plus more for garnish)
¼ teaspoon nutmeg (optional)
½ cup shredded coconut (sweetened or unsweetened, to taste)
¼ cup raisins
Instructions
Cook the rice:
In a medium saucepan, bring the water to a boil. Add the rice and salt, then reduce heat to low. Cover and cook until the water is absorbed (about 15 minutes).Add the coconut milk and sugar:
Stir in the coconut milk, whole milk, and sugar. Simmer over low heat, stirring often so it doesn’t stick to the bottom.Add flavor:
Mix in vanilla, cinnamon, nutmeg, and shredded coconut. Continue cooking gently for 15–20 minutes, until the mixture thickens and becomes creamy.Adjust texture:
If you like it thicker, cook a few minutes longer. For a softer pudding, add a little extra milk.Serve and enjoy:
Spoon into bowls and serve warm, or refrigerate for a chilled treat. Sprinkle with cinnamon before serving.
Serving Suggestions
Serve this creamy coconut rice pudding as a sweet ending to any meal. It’s perfect on its own. topped with tropical fruit like mango or pineapple for a Caribbean touch!
Tip from Eva’s Kitchen
Topped with tropical fruit like mango or pineapple for a Caribbean touch!— it makes the pudding silky and irresistibly rich!

Puerto Rican Coquito (Coconut Eggnog)
A creamy, sweet, and spiced coconut drink that brings holiday cheer in every sip! Coquito — often called “Puerto Rican eggnog” — is made with coconut, rum, and warm spices. It’s smooth, rich, and absolutely irresistible.
Ingredients
1 can (12 oz / 354 ml) evaporated milk
1 can (14 oz / 397 g) sweetened condensed milk
1 can (15 oz / 400 ml) cream of coconut (like Coco López or Goya)
1 can (13.5 oz / 400 ml) coconut milk
1 teaspoon vanilla extract
1 teaspoon ground cinnamon (plus more for garnish)
¼ teaspoon nutmeg (optional)
1 to 1½ cups white or gold rum (adjust to taste)
Cinnamon sticks (for serving)
Instructions
Blend the ingredients:
In a blender, combine evaporated milk, condensed milk, cream of coconut, and coconut milk. Blend until smooth and creamy.Add flavor:
Mix in vanilla, cinnamon, nutmeg, and rum. Blend again for a few seconds to combine everything well.Chill:
Pour the mixture into glass bottles or jars, seal tightly, and refrigerate for at least 2 hours — overnight is best for the flavors to blend beautifully.Serve:
Shake well before serving. Pour into small glasses, sprinkle with cinnamon, and add a cinnamon stick for decoration.
Serving Suggestions
Serve cold during the holidays, at family gatherings, or special occasions.
Tip from Eva’s Kitchen
For a non-alcoholic version, simply skip the rum — it’s just as delicious! And if you want extra creaminess, add a bit more cream of coconut or a spoonful of condensed milk.
⚠️ Storage
Keep your coquito refrigerated. It stays fresh for up to 5–7 days (with rum) or 3–4 days (without alcohol). Shake before each serving and Enjoy!

Creamy Strawberry Cheesecake Cups
Servings: 4
Time: 10 minutes
Difficulty: Easy Ingredients
Crust Layer
1 cup crushed graham crackers (or Maria cookies)
2 tbsp melted butter
1 tbsp sugar (optional)
Cheesecake Cream
8 oz (1 block) cream cheese, softened
1 cup heavy whipping cream
1/3 cup powdered sugar
1 tsp vanilla extract
1 tbsp lemon juice (optional, for brightness)
Strawberry Topping
1 cup fresh strawberries, sliced
1 tbsp sugar or honey
1 tsp lemon juice
Instructions
1. Make the crust
In a bowl, mix crushed cookies with melted butter.
Spoon 2–3 tablespoons into the bottom of small cups or jars.
Press gently to form a crust.
2. Prepare the cheesecake cream
Beat cream cheese until smooth.
Add powdered sugar, vanilla, and lemon juice.
In another bowl, whip the heavy cream until fluffy.
Fold the whipped cream into the cream cheese mixture.
Spoon or pipe the cream over the crust layer.
3. Prepare the strawberries
Mix sliced strawberries with sugar/honey and lemon.
Let it sit for 5 minutes to release juices.
Spoon on top of the cream layer.
4. Chill & Serve
Chill for at least 30 minutes.
Garnish with extra strawberries or a mint leaf.
Tips for Eva's Kitchen
Use clear cups for a beautiful layered look.
You can switch strawberries for blueberries, mango, or pineapple.
For a healthier version: use Greek yogurt instead of whipped cream.

Creamy Broccoli & Carrot Soup
Servings: 4
Prep Time: 10 min
Cook Time: 25 min
Total: 35 min
Ingredients
2 tablespoons butter or olive oil
1 medium onion, chopped
5 garlic cloves, minced
3 cups broccoli florets, finely chopped
2 medium carrots, finely sliced
5 cups chicken or vegetable broth
1 cup heavy cream or 1 cup evaporated milk
2 tablespoons of all-purpose flour
1 cup of cheddar cheese (adjust as desired)
½ teaspoon salt (adjust to taste)
1 teaspoon of chicken bullion
¼ teaspoon black pepper
½ teaspoon of turmeric
¼ teaspoon of curry
Instructions
1. Sauté the base
In a large pot, heat butter or oil over medium heat.
Add onion and garlic; cook 4-6 minutes until soft and fragrant.
Add the all-purpose flour and 1 cup of chicken or vegetable broth
2. Add the vegetables
Add broccoli florets and finely sliced carrots
Stir to coat with the aromatics.
3. Add broth & simmer
Pour 4 cups of chicken or vegetable broth.
Bring to a boil, then reduce the heat.
Simmer for 15–20 minutes, until all veggies are very soft.
4. Add cream & season
Add heavy cream or evaporated milk.
Add salt, pepper, chicken bullion, turmeric, and curry.
Warm for 2–3 minutes — do not boil once the cream is added.
Tip from Eva's Kitchen:
For a lighter version: replace cream with half-and-half or coconut milk.
Serve with a crouton, crackers, or a slice of sourdough bread and enjoy!
FAQs
What is Eva's Kitchen?
A blog for homemade recipes.
Are the recipes easy?
Can I customize recipes?
How often are new recipes?
Where can I find tips?
Yes, they are simple and quick.
Absolutely! Feel free to adjust ingredients.
New recipes are added weekly.
Tips are in the blog posts.